Help
Line of Route
## **Line of Route** This module allows a user to draw and save a line of route anywhere on the UK map and find all the geographically associated stakeholder contacts. This includes Parliamentarians, Councillors and Parish contacts. Mapolitical has a built in Line of Route Map. It allows real time reporting on any line of route in the UK. In addition a buffer area by distance (in metres) can be set around any saved line of route to find all stakeholders in the buffered area [Buffering a Line of Route](./Line of Route Buffer). This avoids any potentially impacted stakeholders from missing out on communications. This application module can be accessed via the main menu. 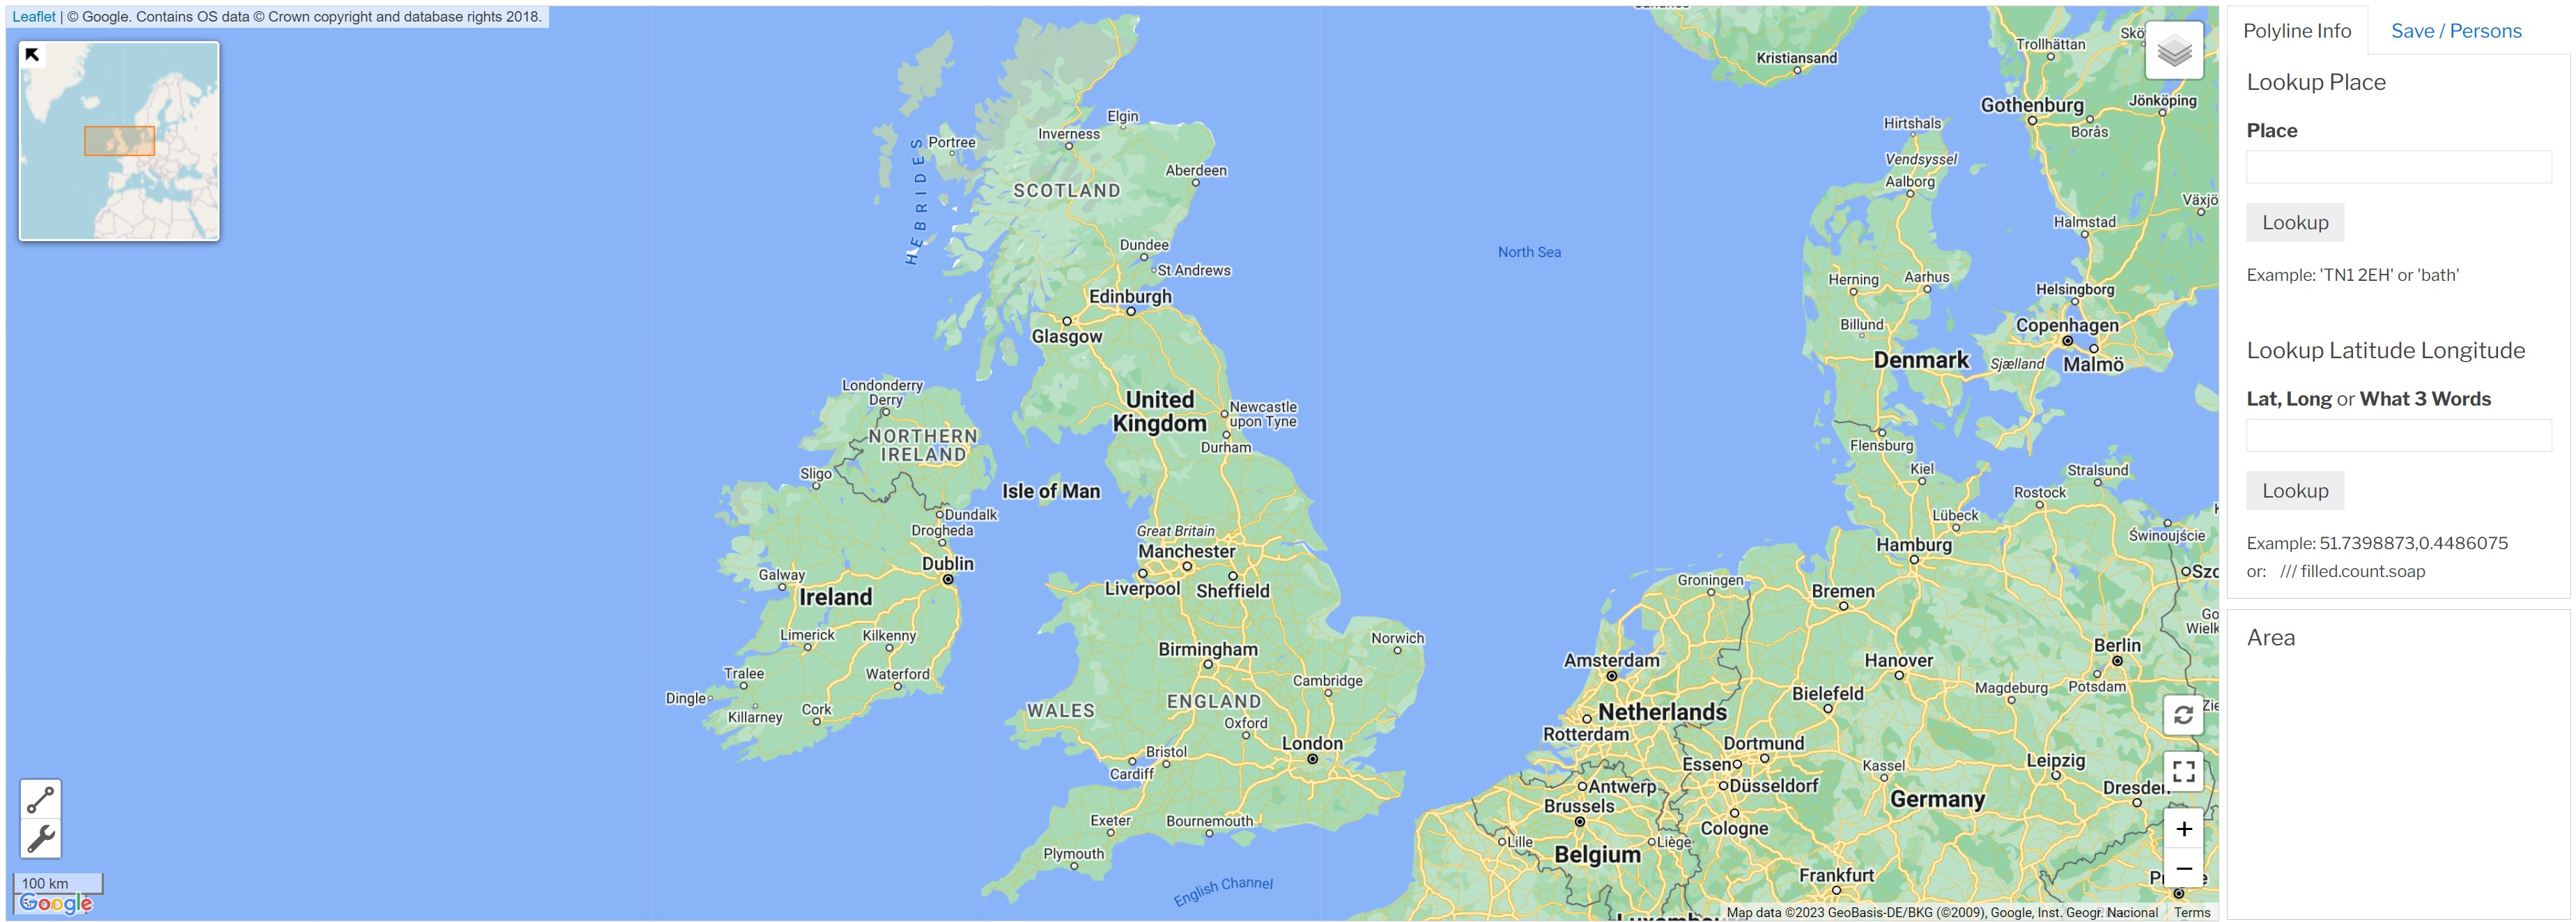 Entering a postcode, place name, Lat, Long or What 3 Words value from the 'Lookup Info' tab or clicking on any location on the map will take you to that place on the map where the line of route can then be plotted. There are two icons on the map which support this feature on the left hand corner of the map, a line of route icon and a spanner icon. To start drawing a line of route, click on the 'Line of Route icon' and then click on the map to plot the first point of the line. A moveable dotted line will indicate the next line point to be drawn. Clicking on the map again will plot the next point which will show the line as it is being drawn. Keep plotting points to draw a line of interest on the map. To finish the line double click on the map on your final drawn point, this will then complete the drawn line. Once the line of route is successfully drawn the application will show a black line on the map. The map will also show any associated electoral and administrative boundaries on the map e.g. Constituency, Council, Ward, Parish etc. These can be toggled on and off of the map using the icon on the top right hand corner of the map and ticking/unticking the boundary name of interest. It will also produce a local political mapping report under the map showing the number of found boundaries e.g. Constituencies, Councils, Wards, Parishes etc under the map. It is possible to draw several lines of route and then save them all together for reporting purposes. This is called a 'Route Segments'. To do this once you have drawn and completed the first line of route, then click on the 'Line of Route icon' again and click on the map to start drawing a new line. Keep repeating this process until all the required line of routes have been drawn. Please see examples of a map drawn lines of route (single and multi boundaries) produced by hand drawing on the UK map [Example Saved Line of Route Maps](./Example Route Map) ### **Found Person Report & Saving Lines of Route** A plotted line of route or set of route segments can be saved in the system. To do this first select the 'Save/Persons' tab just to the right at the top of the map. This will show any line of route features that have been plotted on the map. there are two main options at this point:- **'Show Persons'** - this produces a report containing a list of the found political contacts associated with the selected line of route(s). Please see this example 'Line of Route' report [Example Line of Route Person Report Ready for Data Output](./show route persons). Please see the Found Person Report & Data Output (Mail Merge) for details of how to add key contacts to a report and produce a data output. Clicking the **'Save'** button will save the drawn line of route and produce the 'Show Route' screen which will show the drawn route on the map and a local political mapping report under the map showing the number and a full list of all the found boundaries e.g. Constituencies, Councils, Wards, Parishes etc under the map. The Name of the drawn line of route area which has been created will initially be labelled with the line of route name and the time/date that it was created e.g. 'Route 20230908-1359'. **Click on this name to rename the line of route to something more meaningful.** Once a line of route has been saved it is also possible to view any associated administrative/political boundaries that cover the boundary area. To do this click on the icon at the top right hand corner of the map where all associated boundaries (Constituency, Council, Ward, Parish etc) can be toggled on/off by ticking/unticking the boundary name of interest. Click here to see a visual example [Example Administrative/Political Line of Route Overlay](./Route Overlay) ### **Route Options Including Buffering a Line of Route** There will also be four main options in the 'Task' button menu for any boundary that has been saved:- **'Show Persons'** - this produces a report containing a list of the found political contacts associated with the selected line of route. Please see this example 'Line of Route Report' report [Example Line of Route Person Report Ready for Data Output](./show route persons). Please see the Found Person Report & Data Output (Mail Merge) below for details of how to add key contacts to a report and produce a data output. **'Buffer Route'** - This produces a page where there is the option to generate a buffer around the line of route by a distance in metres to find all stakeholders in the buffered area. Please click here for more information [Buffering a Line of Route](./Line of Route Buffer). **'Manage Route'** - This page gives the option to change the colour of the line of route from the standard black to a colour of your choice. Click on a colour and the line of route in the map below will change to that colour. Once a colour has been chosen click on 'Task' and 'Show Route' to return to the 'Show Route' page. **'Edit Route'** - This produces a screen where the drawn route can be edited and re-saved if required. To start this process click on the icon shaped as a 'spanner' at the bottom left hand corner of the map. This will then show all the existing plotted line of route points (circles). The large circle points can be clicked on with the mouse and moved to reshape the route. Clicking on one of the smaller boundary circle points will generate an additional new large route point which can be moved as necessary. This is useful if you need to change the direction or definition of a previously drawn line of route. When the line of route has been amended, click the 'Revise' button next to the spanner icon. This will update the route and the data report under the line of route map. To save the updated route select the 'Save/Persons' tab just to the right at the top of the map, check your line of route name and click on the 'Save button'. **'Manage Notes' **- This allows one or more notes to be added to an line of route. Please see the section on [Notes](./notes) for more details. ### **Found Person Report & Data Output (Mail Merge)** An exportable report of the found political contacts who are covered by a plotted line of route can be produced by the system. To do this first select the 'Save/Persons' tab just to the right at the top of the map. This will show the editable Route name that the system has produced. Clicking the 'Show Persons' button will produce a new browser frame which produces a report containing a list of the found political contacts associated with the current plotted line of route. Please see this example 'Show Persons' report [Example Show Persons Report Ready for Data Output](./show route persons) Next click on the 'Task' pull down list. This offers the option of producing a [Data Output](./data output) for exporting data out of the system into other applications such as Excel etc. Altneratively, clicking the other option labelled 'Add Key People' allows additional Councillors or Council Officers to be added to the report who have specific roles e.g. Council Leader, Chief Executive, Chairman Planning, Chief Planning Officer etc. These are generic posts that our research team relate to the real life local Councillor and Officer position names. To do this type in a post name or select from the 'Key Officer Positions' and 'Key Councillor Positions' pull down lists. There is no limit to the number of additional posts that can be added to existing search results. Please see this example of adding key people to a person report [Example Adding Key Persons to Person Report](./Adding Key Positions) Once the key posts have been identified, click the blue 'Add' button and the Interactive Lookup Report will be updated with the additional contacts. The contacts can then be exported out of the system into other applications such as Excel etc using the [Data Output / Mail Merge](./data output) function. At any point click on a found individual contact's hyperlinked name to visit their [Show Person](./Show Person) screen and view their details. [Main Help Menu](./index)
About
Privacy
Help
Contact Us